How to Drill Through Porcelain Tile Without Cracking It: The Fail-Safe Guide
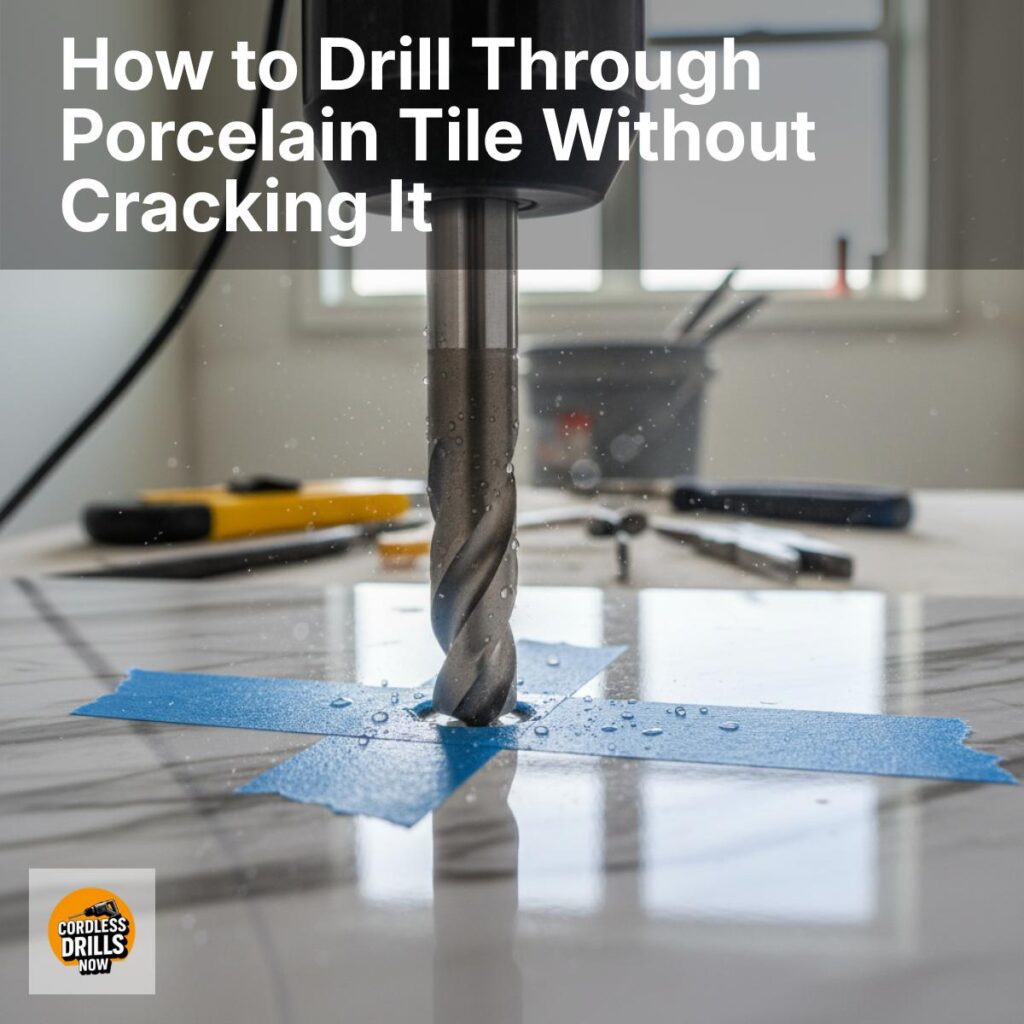
<p>Porcelain tile offers exceptional durability and a clean, modern appearance, but its hardness and dense composition can make drilling a challenge. Whether you’re installing fixtures, mounting shelves, or running wiring, a precise, controlled approach is essential to avoid cracks and chips. This guide outlines a methodical, fail-safe process to drill through porcelain tile with confidence. </p><p>1) Gather the right tools and materials<br>- Porcelain tile drill bit: Choose a high-quality carbide-tide or diamond-tine core bit designed for tile and glass. For best results, use a bit sized to match your hole requirements, typically 1/4 inch to 1/2 inch for most hardware installations. <br>- Drill: A variable-speed drill with a steady, low to moderate speed setting. A hammer function is not recommended for porcelain tile itself, especially on the tile surface. <br>- Drill guide or masking tape: A non-slip guide or painter’s tape helps prevent wandering on the surface. <br>- Center punch or awl: A small punch creates a starting point to keep the drill from wandering. <br>- Safety gear: Eye protection, dust mask, and gloves. <br>- Cooling method: Water or a wet sponge to cool the bit during drilling and to minimize dust. <br>- Marker: For marking the drilling point precisely. </p><p>2) Prepare the workspace and tile<br>- Clean the tile surface to remove dust, grease, and debris. Any contamination can cause the bit to slip. <br>- Plan the hole location with precise measurements. Use a ruler, level, or square to ensure alignment. <br>- Place masking tape over the drilling point. The tape provides a target and reduces the chance of the bit skating. <br>- If the tile is part of a larger installation, ensure you’re drilling perpendicular to the tile surface to avoid angled entry, which increases the risk of cracking. </p><p>3) Mark and create a starter indentation<br>- Use a center punch or a sharp tool to create a small indentation at the drilling point through the tape. The indentation should be shallow but deep enough to seat the bit tip. This helps the bit start accurately and reduces wander. </p><p>4) Begin drilling with care<br>- Set the drill to a low speed (typically 500–1,500 RPM, depending on the bit and drill). <br>- Place the drill bit on the indentation and begin with light, steady pressure. Let the bit do the work; avoid forcing it. <br>- If you’re using a carbide-tipped bit, keep the bit cool and clear debris by periodically removing the bit and applying a few drops of water to the hole. <br>- Use a gentle, constant pressure as you progress. Do not twist or tilt the bit; maintain a perpendicular angle to the tile surface. </p><p>5) Manage bite depth and breakthrough<br>- For a through-hole, you’ll encounter the tile glaze and then the body of the porcelain. When you feel the bit break through the back of the tile, reduce pressure and continue to smooth the edges. If you’re drilling into a substrate behind the tile (e.g., drywall, wood), switch to a suitable bit for that material once you break through the tile. <br>- If the tile begins to crack, stop immediately. Assess the crack’s location and adjust technique. Common fixes include starting with a smaller pilot hole or using a tile-appropriate drill bit at a slower speed, then reaming to the final size. </p><p>6) Clean up and inspect the hole<br>- After drilling, remove any glaze burrs with a small deburring tool or by gently sanding with a fine-grit diamond pad. Be cautious not to scratch the tile. <br>- Clean the hole and surrounding area to remove dust and moisture. <br>- Check the hole for roundness and edge quality. If edges are sharp or chipped, lightly polish with a diamond file or pad. </p><p>7) Post-drilling considerations<br>- If you’re installing a fastener, insert a lead-in piece or anchor appropriate for porcelain tile and the substrate behind it. Use epoxy or a tile-safe adhesive if required by the hardware. <br>- For glass or mirror installations, use specialized anchors designed for porcelain tiles and follow manufacturer guidelines for weight limits and spacing. <br>- When in doubt, test with a scrap tile to fine-tune your technique before proceeding on a final piece. </p><p>8) Troubleshooting tips<br>- Bit wandering: Apply a center punch starter and tape the area. <br>- Cracking: Reduce speed, increase support, and ensure perpendicular drilling. Consider a smaller pilot hole first and gradually increase to the final size. <br>- Chip-prone edges: Use masking tape on both sides of the tile at the drilling point to reduce edge chipping. <br>- Overheating: Periodically pause to cool the bit with water; overheating weakens the bit and can damage the tile. </p><p>Closing thoughts<br>With the right bit, careful technique, and steady hands, drilling through porcelain tile can be accomplished cleanly and reliably. Prioritize measurement accuracy, proper cooling, and perpendicular alignment to minimize the risk of cracks and chips. A methodical approach not only protects the visual integrity of the tile but also ensures secure, durable installations for years to come.</p><p><a href="https://www.cordlessdrillsnow.com/how-to-drill-through-porcelain-tile-without-cracking-it-the-fail-safe-guide/">Source</a></p>


Comments
Post a Comment